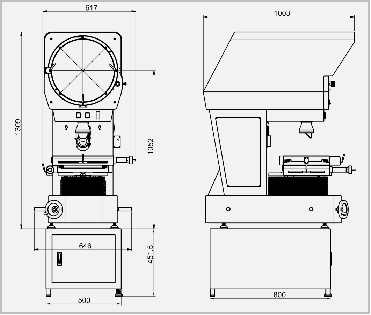
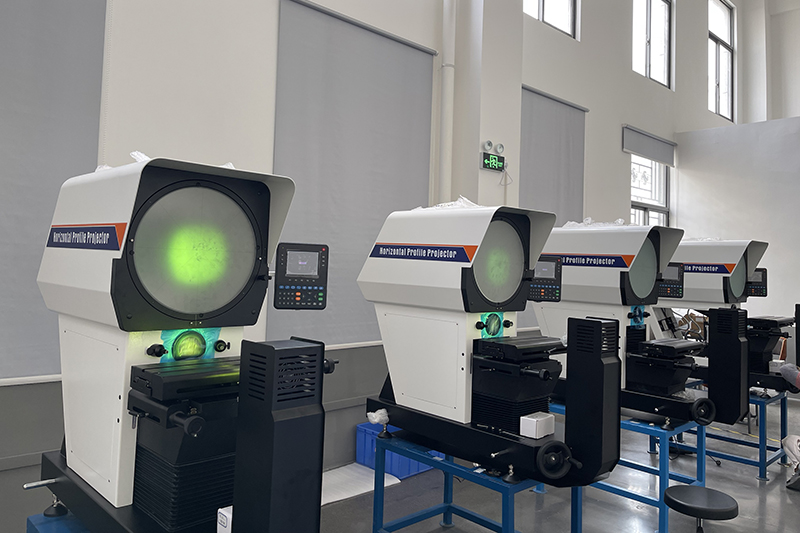
An optical comparator, also known as a profile projector, is a precision measurement tool used in manufacturing and quality control processes to compare the dimensions of a manufactured part to a specified drawing or template. It employs optics and lighting to magnify and project the image of a part onto a screen, where it can be visually compared to a reference image or overlay.

Here’s how an optical comparator typically works:
Setup: The part to be inspected is placed on the stage of the optical comparator. The stage can be moved to position the part under the optical system.
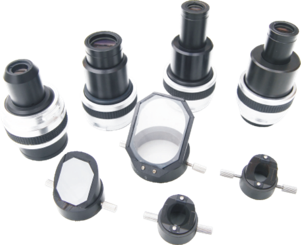
Optics: The optical system consists of a light source, lenses, mirrors, and sometimes prisms. The light source illuminates the part, and the optics magnify the part’s image, projecting it onto a viewing screen.

Overlay or Comparison: A transparent overlay with the desired specifications or a transparent image of the part’s drawing is placed on the viewing screen. The operator can adjust the magnification and focus to ensure an accurate comparison.
Inspection: The operator visually inspects the magnified image of the part and compares it to the overlay or reference image. This allows them to check for deviations, defects, or differences between the part and the desired specifications.
Measurements: Some advanced optical comparators may have built-in measurement scales or digital readouts that allow for more precise measurements of the part’s dimensions, such as lengths, angles, radii, and more.

Optical comparators are widely used in industries like manufacturing, aerospace, automotive, electronics, and precision engineering. They offer a relatively quick and non-contact method of measuring and inspecting parts, helping to ensure quality and accuracy in production processes. While they are effective for certain types of inspections, more advanced technologies like coordinate measuring machines (CMMs) and computerized vision systems have also become popular for more complex and automated measurement tasks.
Post time: Aug-04-2023

