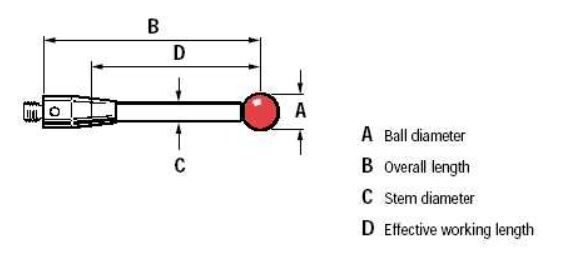
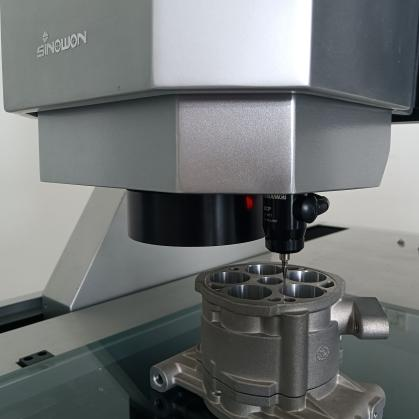
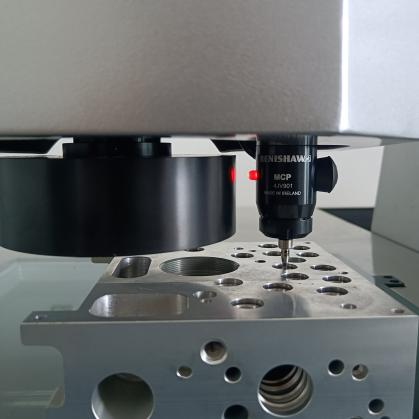
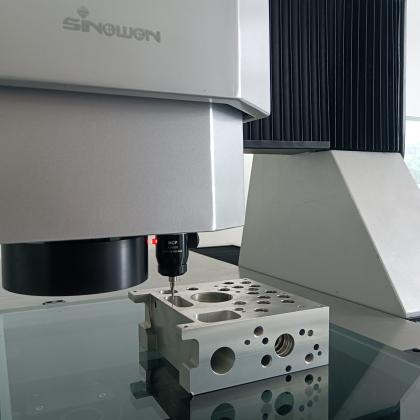
3D touch probe, also known as the contact sensor, as an optional accessory on VMM, can be equipped with VMM to achieve multiple measurement modes, which provides the system with richer measurement capabilities and is suitable for different types of applications.
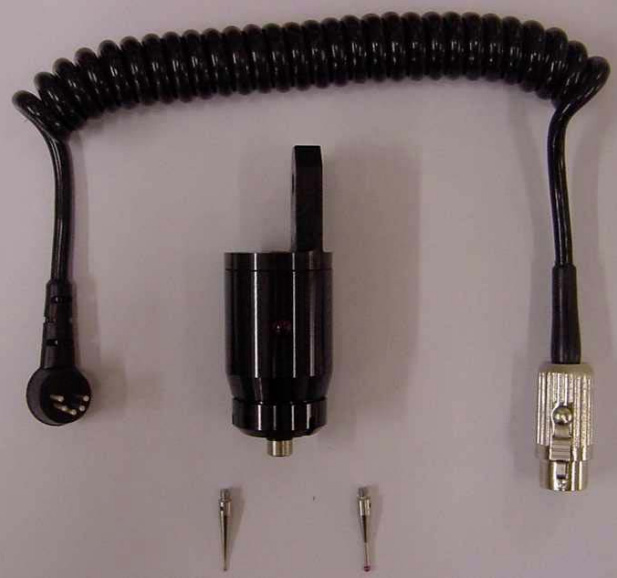
1. High precision trigger measurement: 3D touch probe can perform high-precision trigger measurement by triggering probes on different surfaces to obtain 3D coordinate points, thus achieving high-precision size measurement.
2. Surface morphology measurement: 3D touch probe can contact the work-piece surface and obtain data, which is very useful for complex surface morphology measurement and can provide more comprehensive geometric information.
3. Part feature detection: VMM equipped with a 3D touch probe can be used to detect part features such as aperture, protrusion, notch, etc., and precise measurement of these features can be achieved through trigger measurement of the probe.
4. Multi-point measurement and measurement path planning: The 3D touch probe can automatically plan the paths of multiple measurement points, thereby achieving multi-point measurement and greatly improving measurement efficiency.
5. Software support and data processing: The 3D touch probe is equipped with professional measurement software, which can process, analyze, and visualize the obtained data, making the measurement results easier to understand and apply.
6.Measurement of complex structures: For parts with complex structures and irregular shapes, 3D touch probe can better adapt and measure, thus achieving more comprehensive data collection.
Application
Equipping 3D touch probe on VMM will compensate for the insufficient measurement ability of optical lens when facing samples with complex features and structures. Therefore, the application scenario overlaps with the traditional Coordinate Measuring Machine (CMM).
Our team suggests that VMM (with 3D touch probe) can be selected and recommended in the following situations:
1. The measurement accuracy is not exceed or equal to (5+L/200) um;
2. The samples that need to be measured per day is in huge amount, so using traditional CMM is too time-consuming;
3. The budget does not meet the cost of CMM, or there is not enough space to place the CMM. We can consider using VMM instead.
In terms of product industry, please refer to:
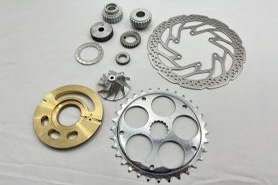
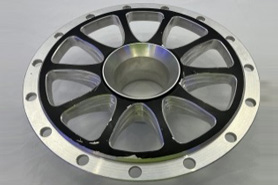
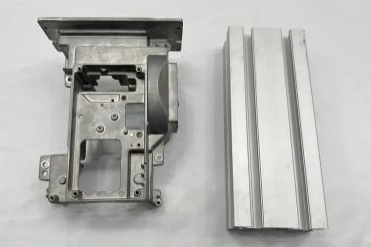
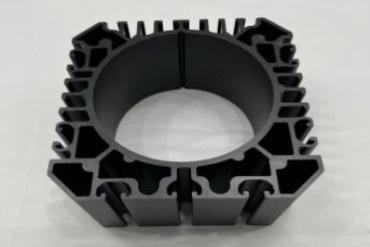
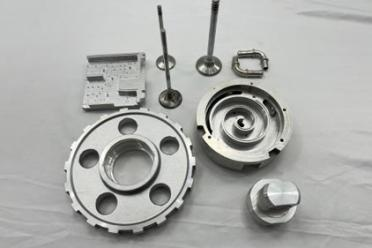
Mechanical parts, such as bolts, nuts, gears, shafts;
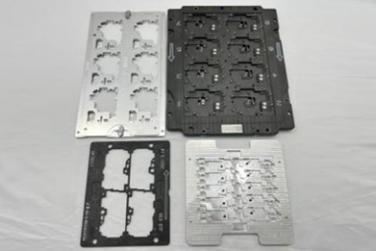
Precision mold manufacturing, such as stamping, die-casting parts, optical molds, and electronic packaging molds;
Aerospace, such as structural components made of composite materials;
Electronic components, such as some packaging components;
Medical devices; Such as implants, medical fixtures, and stents.
Welcome you to our YouTube channel for more information on 3D touch probe measurement: https://www.youtube.com/watch?v=s27TOoD8HHM&list=PL1eUvesN07V9kJ5zZJUOuvUtzktCO06QK&index=4
If you have any related project requirements, please feel free to contact us for consultation.
Post time: Aug-31-2023

